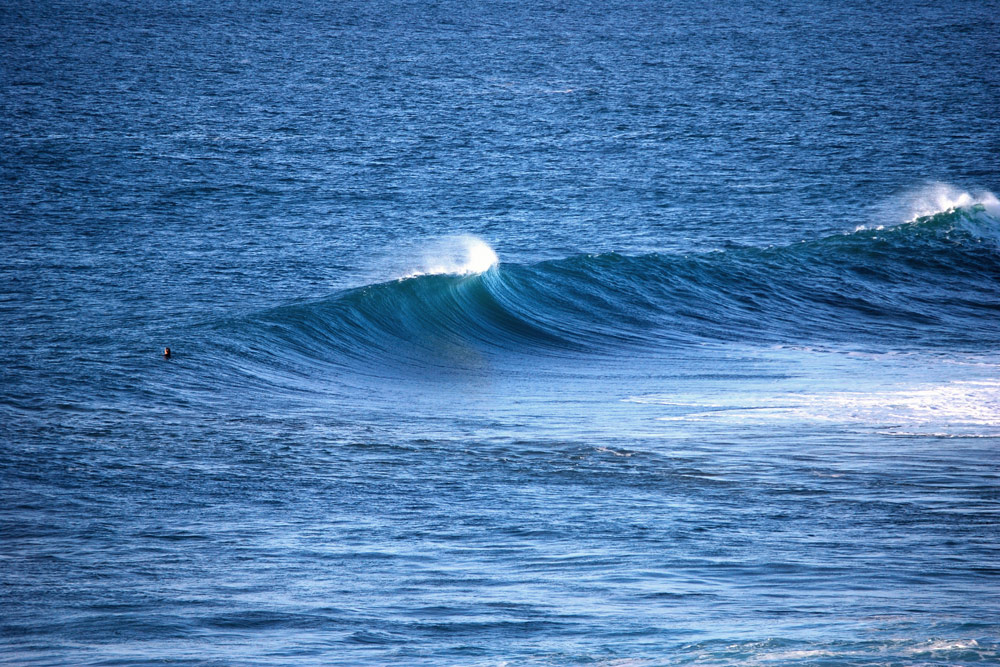

Hash Point
Aptly named, since it is so close to Hash Point Surf Camp, this break is perfect if the 15 minute walk to Anchor Point is a little far... This wedgy right-hander breaks right below our roof terrace!
The Breakdown
Step out of our front door and into the ocean—the photo below is taken from one of our bedrooms!
Beginner beach break (unless big)
Works on all tides

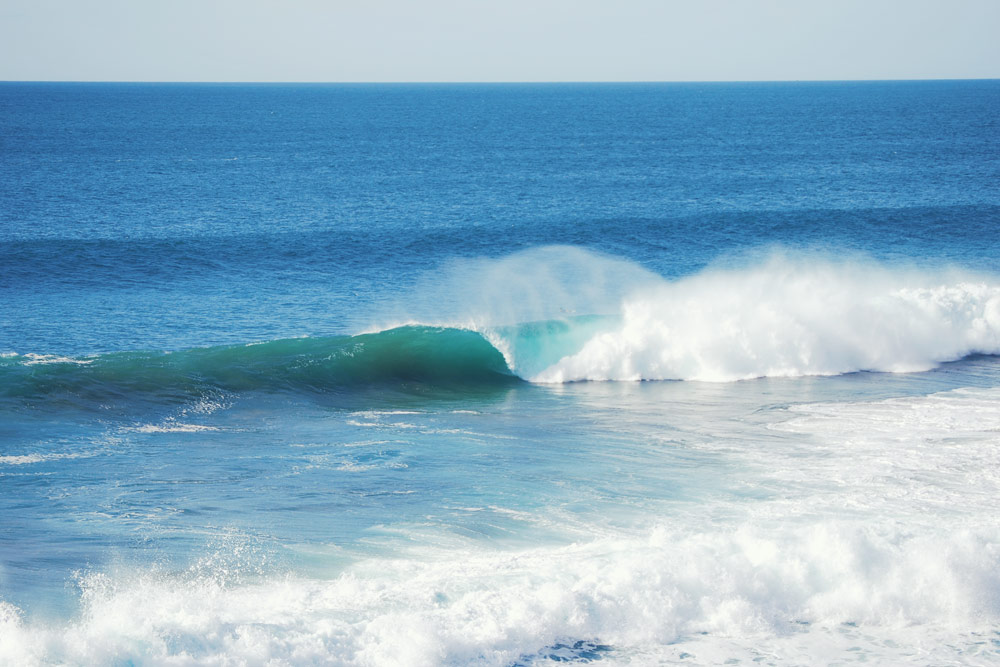
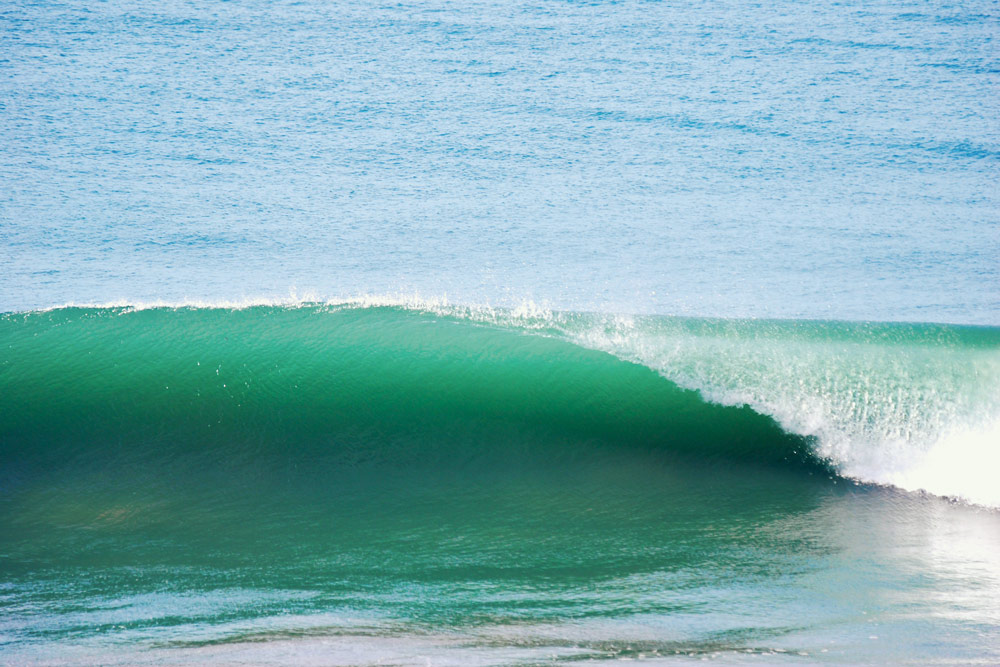
Anchor Point
Anchor Point is one of the most famous right-hand point breaks on the entire African continent. Occasional emerald green rooms appear on the sandy sections down the point. On giant swells it may be possible to ride one wave all the way into Taghazout.
The Breakdown
3 min drive | 15 min walk
Intermediate to advanced surf spot
Works best on low-mid tides
Right-hand point break
Expect crowds


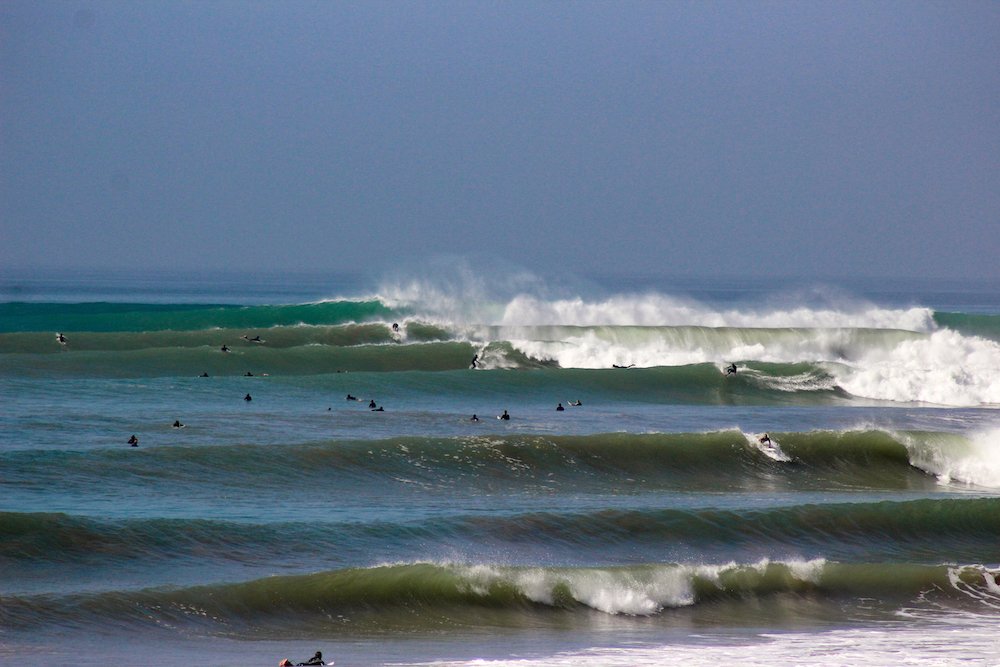
Panoramas
You can see this break from our roof terrace—it’s popular with beginners for its convenience and because it breaks over sand. However, when the swell is big and from the right direction Panoramas can also be world class!
The Breakdown
4 min walk
Right-hand point break (beginner when small)
Works on all tides—but best at low to mid

Tamri
Tamri is a swell magnet and usually the best option on the smaller days since it almost always has a wave. Mornings are often the best bet on this surf spot, before the afternoon on-shore breeze picks up. Hollow barrels to be had for those who know how to find them!
The Breakdown
40 min drive
Beach break—ideal for beginners (unless big)
Lots of A-frame peaks and rarely crowded

Imsouane
This surf spot is a true long-boarders paradise with endless mellow rights that wrap around the point and into the protected bay. There are also several well-defined peaks that grace the cathedral side. Although even smaller then Taghazout, the village of Imsouane is also a popular destination for campers because of its famous laid back vibe and easy-going local fisherman.
The Breakdown
1h 15m drive
Northerly facing and usually bigger than Taghazout
The bay is a mellow right-hand point break perfect for beginners and long-boarders
The adjacent beach is similar to Tamri with nice A-frame peaks


Killer Point
Named after the killer whales that have been rumoured to migrate past the point. This is the major swell magnet in the area and will pick up the biggest waves. The 20 minute paddle out usually thins the crowds. Handles giant swells that can be impressive to watch Killer Point from the safety of the cliffs above!
The Breakdown
8 min drive | 30 min walk
20 minute paddle out (or a sketchy jump off the rocks)
Right-hand point break (advanced)
Works on all tides
Swell magnet


Banana Point and Crocs
Banana Point and Crocs are tucked in-between Devil’s Rock and the nearby Banana Village. The cape offers some protection from the wind and provides a long easy right-hander for advanced surfers as well as a wide beach for beginners.
The Breakdown
10 min drive
Options for both beginners and advanced surfers
Strong rips when the swell is big


La Source and Mysteries
La Source and Mysteries are located just 100m north of Anchor Point, on the next stretch of beach—breaking over a rock reef. Works on all tides but can be especially hollow on low tide and watch out for the strong rips when it’s big.
The Breakdown

5 min drive | 25 min walk
Intermediate to advanced due to rocks and strong rips
Good high-tide option or for when Anchor Point is too crowded

Boiler’s
Named Boiler’s for two reasons—first because a washed-up ship boiler sits right next to the take-off zone and secondly because of the boils created by trapped air escaping from holes in the reef. This powerful right-hander throws out heavy vertical lips and fast breaking walls held up by the funnelling trade winds.
The Breakdown

35 min drive
Right-hand reef break (experts only)
Strong currents and sketchy jump off point
Handles big swells


Dracula’s
Known as Boiler’s evil twin—Dracula’s is not for the faint of heart! Although the speedy right-hand walls and promise of hollow sections can tempt a few expert surfers to navigate the vampire teeth shaped rocks, you should proceed this surf spot with caution.
The Breakdown

30 min drive
Strong rips and sharp rocks—experts only!
Best on low-tide

And a Few Secret Spots...
There are also a few lesser known surf spots, which the locals prefer to keep under wraps to avoid the crowds during peak seasons. We’ll be sure to give you some insider’s tips!